Discover innovative tips and tricks for perfecting your candle making process with these candle mold hacks.
Choosing the Right Candle Mold
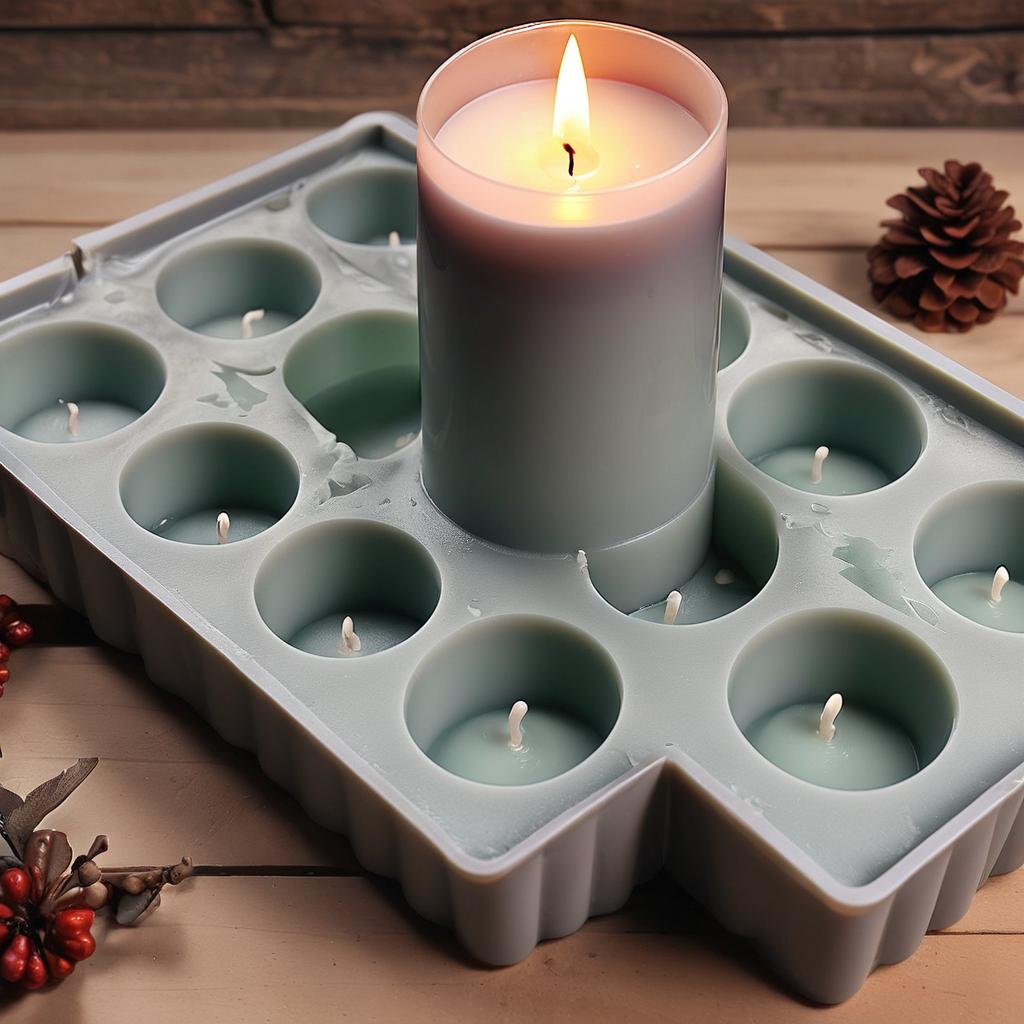
When it comes to candle making, choosing the right mold is crucial for achieving seamless results. Consider the size and shape of the candle you want to create, as well as the material of the mold. Silicone molds are popular for their flexibility and ease of use, while metal molds provide a more traditional look. Additionally, think about whether you prefer a single-use mold or a reusable one.
Another important factor to consider is the release method of the mold. Some molds have a built-in release system, while others require the use of mold release agents such as cooking spray or mold release sprays. Make sure to read the instructions and choose a mold that suits your specific needs.
Prepping Your Candle Mold
Before pouring your wax into the mold, it’s important to properly prepare it to ensure a smooth and seamless candle. Start by cleaning the mold thoroughly to remove any dust or residue. This can be done with warm soapy water and a soft cloth. Make sure to dry the mold completely before use.
Next, consider using a mold sealer or mold sealer spray to prevent any leakage or seepage of the wax. This can be especially useful for molds with intricate designs or seams. Apply the sealer according to the manufacturer’s instructions and allow it to dry completely.
Finally, if you’re using a multi-piece mold, make sure to securely fasten the pieces together to prevent any wax from leaking out. You can use rubber bands or clips to hold the mold tightly in place. This will ensure that your candle sets properly and maintains its shape.
Creative Candle Mold Alternatives
While traditional candle molds are widely available, there are also creative alternatives that you can use to make unique and interesting candles. Consider using household items such as mason jars, teacups, or even fruit shells as candle molds. These unconventional molds can add a fun and whimsical touch to your candle making process.
Another alternative is to use silicone molds designed for other purposes, such as baking or crafting. These molds come in various shapes and sizes, allowing you to create candles with intricate details and designs. Just make sure to dedicate these molds solely to candle making to avoid any potential contamination.
Don’t be afraid to think outside the box and experiment with different mold alternatives. You might discover new and exciting ways to create candles that reflect your personal style and creativity.
Troubleshooting Common Candle Mold Issues
Even with the best preparations, candle making can sometimes come with its own set of challenges. Here are some common candle mold issues and how to troubleshoot them:
– Uneven Cooling: If your candle cools unevenly and develops sinkholes or air pockets, try placing the mold in a water bath after pouring the wax. This will help regulate the temperature and promote even cooling.
– Stuck Candle: If your candle gets stuck in the mold and is difficult to remove, try placing it in the freezer for a few minutes. The cold temperature will shrink the wax slightly and make it easier to pop out of the mold.
– Rough Surface: If your candle has a rough or textured surface, it may be due to air bubbles trapped in the wax. To prevent this, try gently tapping the mold on a hard surface after pouring the wax to release any air bubbles.
– Wax Leakage: If you’re experiencing wax leakage from the mold, check for any cracks or gaps in the mold. You can use mold sealer or heat-resistant tape to seal any openings and prevent leakage.
By troubleshooting these common issues, you can overcome any obstacles that may arise during the candle making process and achieve a seamless end result.
Decorating Your Candles with Mold Hacks
Candle molds can be more than just a tool for shaping your candles. They can also be used as a creative way to decorate and enhance the appearance of your finished candles. Here are some mold hacks for decorating your candles:
– Embed Objects: Consider embedding small decorative objects, such as dried flowers, seashells, or glitter, into the wax while it’s still melted. This will add a unique touch to your candles and create a visually appealing effect when the candle burns.
– Layered Colors: Use different colored waxes to create layered candles. Pour one color into the mold, allow it to partially set, and then pour another color on top. Repeat this process for as many layers as you desire. The result will be a beautiful candle with multiple shades and dimensions.
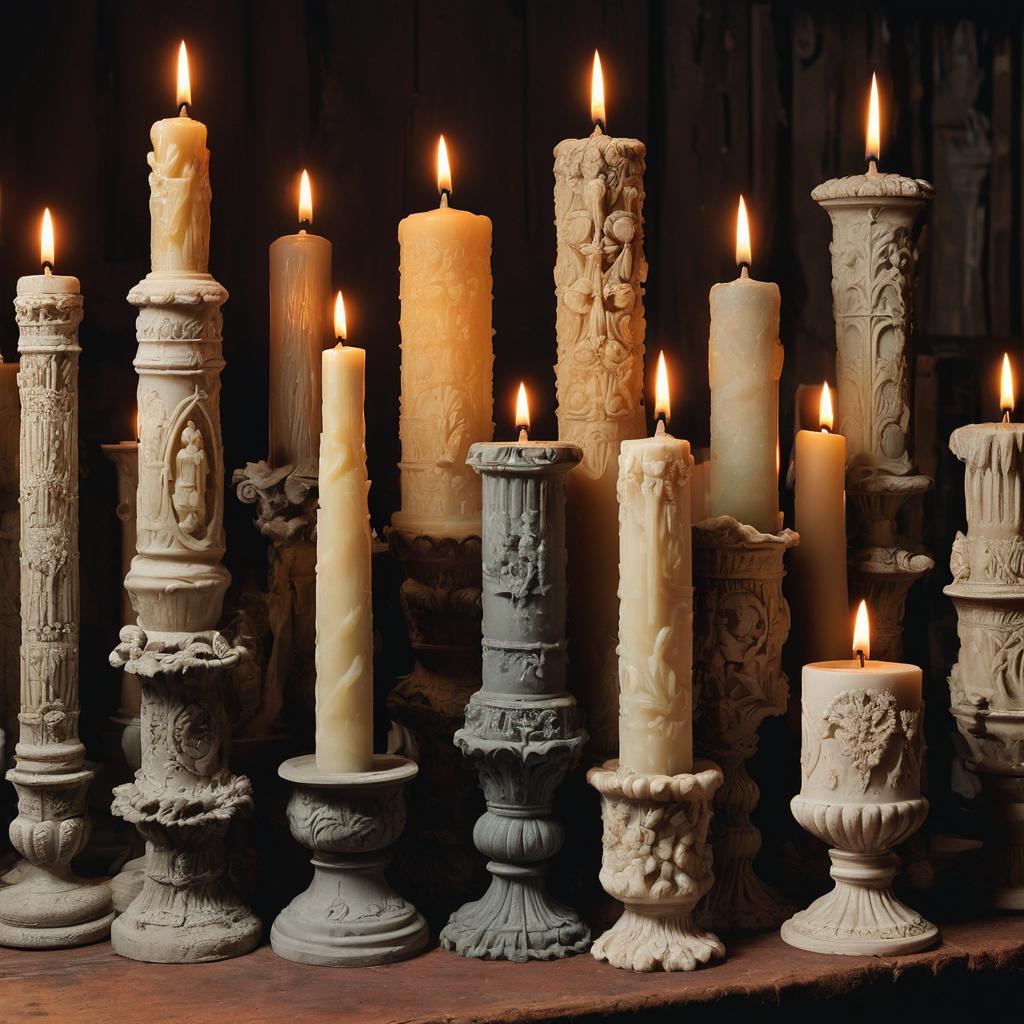
– Textured Patterns: Take advantage of the mold’s design to create textured patterns on your candles. Choose a mold with intricate details, such as swirls or geometric shapes, and pour the wax carefully to capture these patterns. Once the candle is set, it will showcase the unique design of the mold.
Experiment with these mold hacks and let your creativity shine through in your candle designs. The possibilities are endless!